You will need:
- Small sharp scissors
- Needle & coordinating colour thread
- 1x approx 7.5cm (3inch) nylon zipper in a coordinating colour
- Some iron-on interfacing
1/ First cut out all the pieces
& transfer any instructional markings onto the reverse of the fabric.
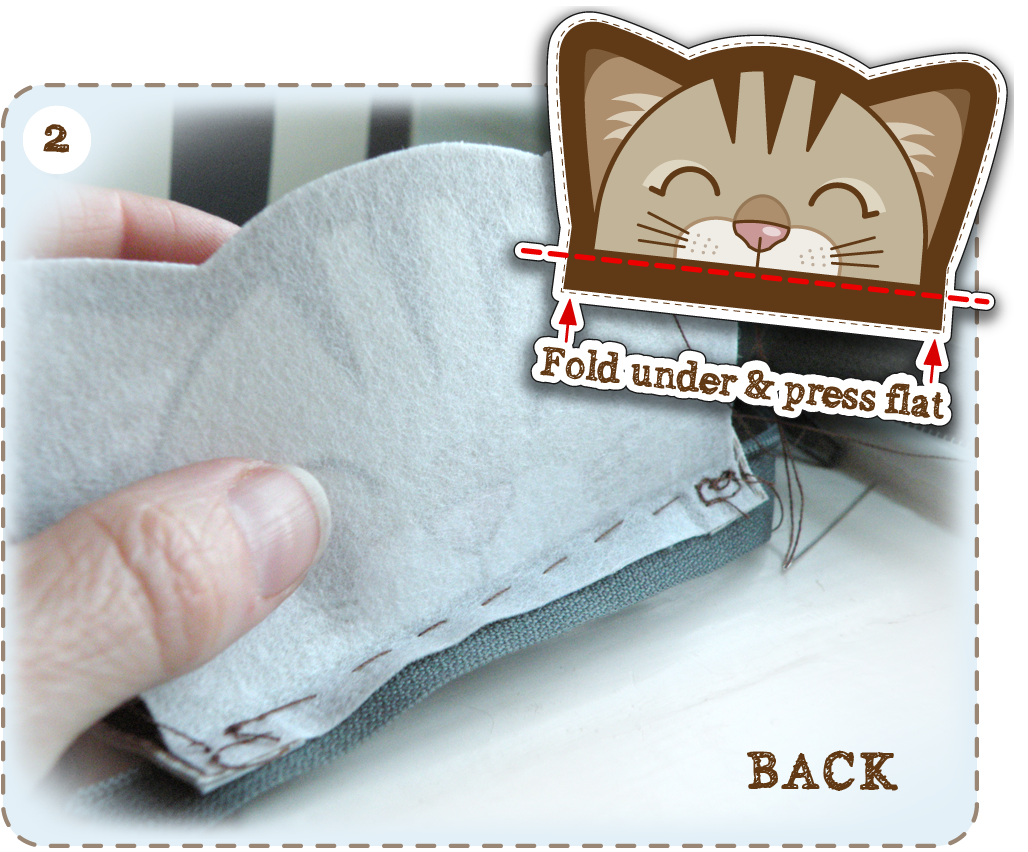
2/ Fold under & press flat the brown strip at the bottom of the coin purse face piece & hand stitch this strip, right side facing right side of the zip,
as shown:
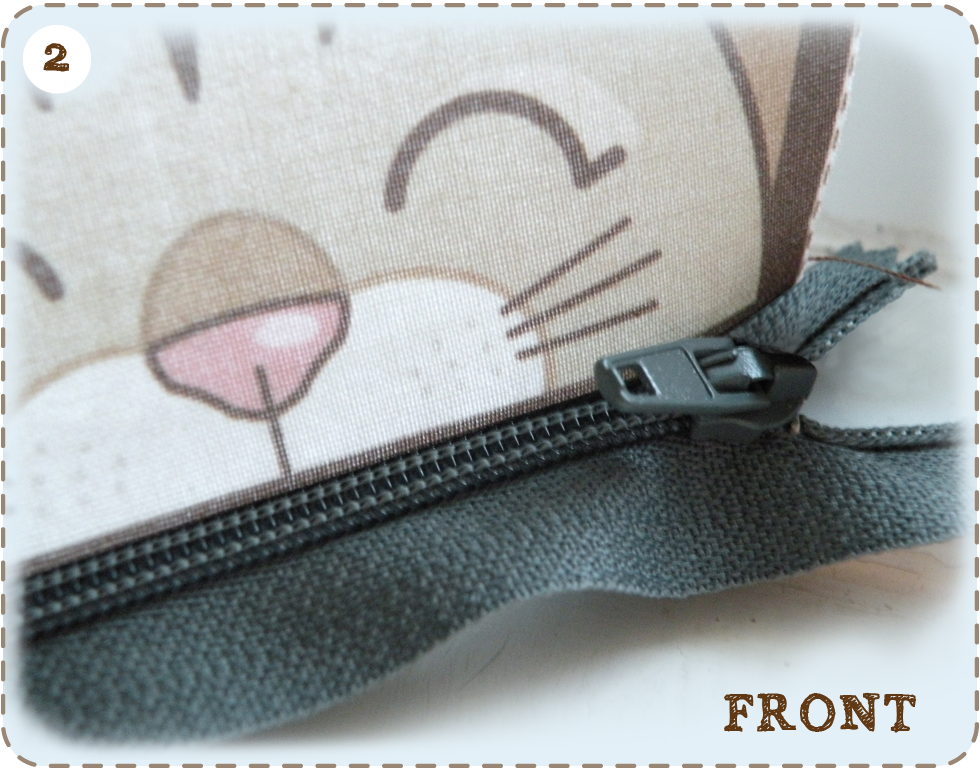
3/ Now with the back piece of the the coin purse; follow the same procedure as the front. Fold under & press flat the brown strip at the bottom of the coin purse back piece and again hand stitch this strip, right sides facing to the lower half of the zip.
Now from the front, it should look something like this:
4/ Next fold together the two halves of the coin purse so the right sides are touching – the face & the back of the head, line up both sets of ears & then sew the two together. It should like some thing like this:
5/ Sew the Top Mouth piece; right side facing to the opposite side of the zipper that the Face piece is sewn to – as below:
6/ Next sew, right sides facing, the two tongue pieces together, then turn right sides out & press flat.
7/ Now tack the Tongue to the Top Mouth piece; Top Tongue side facing the Top Mouth as shown below:
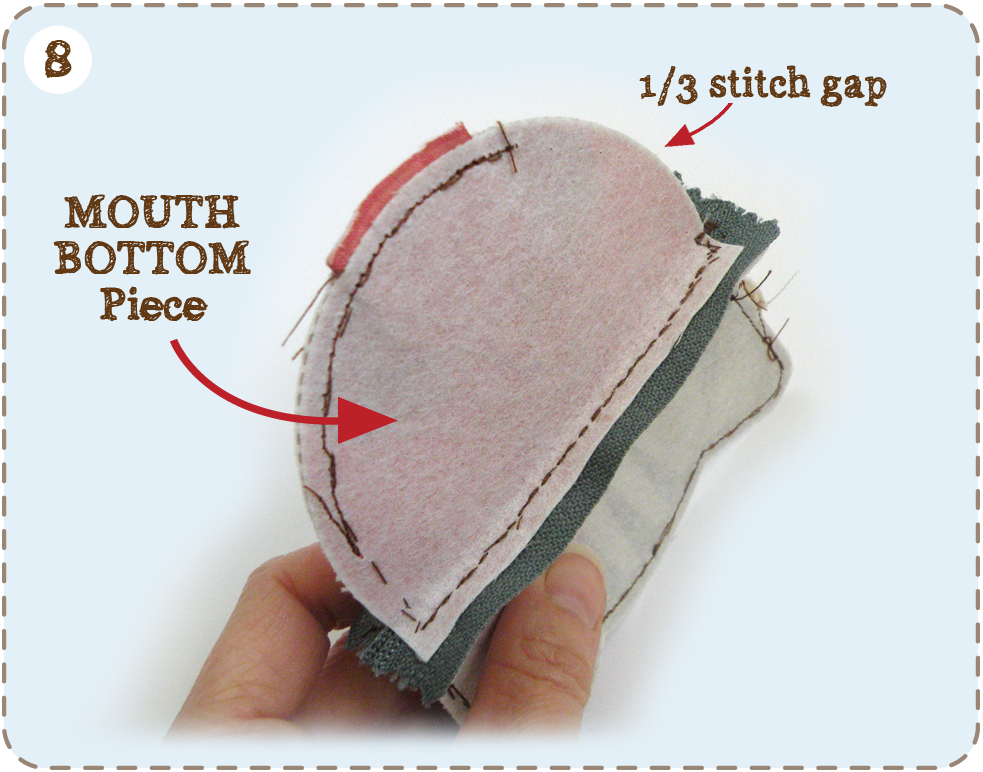
8/ Next stitch the Bottom Mouth piece to the other side of the zipper, making sure that the two Mouth pieces curved edges line up.
Then sew 2/3 of the curved, Mouth pieces together, as shown below: Leaving a 1/3 gap through which the whole purse will be turned right sides out.
9/ Now you’ll need to turn the whole coin purse right sides out – this part is quite fiddly, sorry. Use a blunt tool, like a wooden lolly pop stick to help. I found pulling the tongue through first quite useful.
10/ Pull the tongue & mouth all the way out of the purse so the 1/3 gap can be sew up, again, this is quite fiddly 🙁
11/ When sewn up, push the tongue & mouth back inside the head & your coin purse is all finished.
CONGRATULATIONS!
sorry for the fiddliness of this project
Lots of Love; Wood Mouse & Bobbit x x


Mary Beth
Just got my fabric yesterday for the coin purse and pencil case, and it’s so cute! Thanks for the tutorial. Do you use interfacing on the coin purse? It looks like it from the pictures, but I didn’t see any mention of it in the tutorial.
Emma
Oh so cool! I hope you have fun making it – sorry if its a little fiddly 🙂